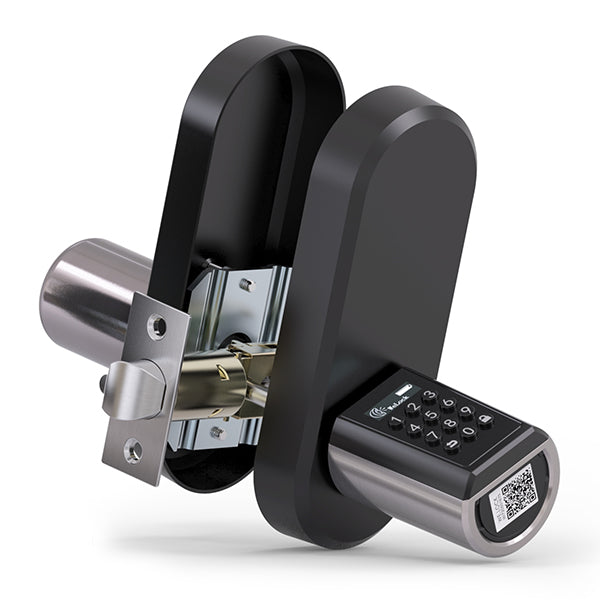
How do I change my cylinder lock?
Have you ever forgotten your keys and accidentally locked yourself out? Or perhaps a family member or friend arrived when you weren’t home, and there was no spare key to let them in? With the WELOCK smart lock cylinder, these issues are a thing of the past. Easily control access to your home remotely, and say goodbye to the hassle of physical keys. Upgrade to WELOCK today for smarter, safer home access!
Changing a door lock cylinder is a critical step in enhancing home security, whether it’s due to lost keys, enhancing security, or upgrading to a modern smart lock system like the WELOCK Smart Lock. This guide will walk you through the necessary steps for replacing a door lock cylinder and upgrading to a smart lock system.
Step-by-Step Instructions for Changing a Door Lock Cylinder
- Take out the retaining screw under the latch.
While you are changing the lock, turn the screw underneath the door latch counterclockwise with a screwdriver and remove it.
Remark: Since you'll need to screw it back in later, put the screw somewhere secure.

- Insert and rotate the key to the quarter position.
Turn the key gently to make it open after inserting it into the keyhole. By doing this, the latch will be concealed within the lock's internal parts and be accessible for sliding out.
Remark: You will not be able to remove the lock if you do not turn the key.

- Remove the existing Cylinder
As you push on the lock from its opposite side, keep the key turned. If everything is done correctly, the original lock cylinder should come out.
Remark: If the cylinder seems stuck, try rotating the key a little bit more or less. Adjust the key until you can push the latch out.
If you’re upgrading to a WELOCK Smart Lock, make sure the new cylinder is compatible with the size and type.

- Insert the WELOCK cylinder into the hole.
Insert the WELOCK smart lock cylinder slowly into the lock hole by rotating it alternately clockwise and counterclockwise so that the latch enters the interior of the lock cylinder. Adjust the position of the lock cylinder so it fits snugly into the door’s lock mechanism. This will allow you to easily slide it back into the cylinder hole

- Secure the new lock cylinder.
Using your fingers to thread the screw into the hole, tighten it with a flathead screwdriver. Turn it again until the side of your door is flat with it. Tighten the retaining screw to secure the new lock cylinder in place. Make sure the cylinder is firmly attached and does not move.

- Test your WELOCK smart lock cylinder to make sure that it unlocks your door.
Keep the door open as you test it. You can open your door by fingerprint, keypad, RFID smart card and the WELOCK APP.

Considerations for WELOCK Smart Locks
Please keep the following points in mind when upgrading to a WELOCK Smart Lock,
Compatibility: Ensure the WELOCK Smart Lock cylinder is compatible with your door lock system.
Security: WELOCK Smart Locks come with advanced security features.
Modular Design: WELOCK provides a modular design that makes it simple to adjust the lock cylinder size to suit a variety of doors.
Smart Features: Enjoy features like remote control, temporary access, and easy connection with smart home devices after installing the WELOCK door Lock cylinder.
Conclusion
Replacing a door lock cylinder is an essential task to ensure home security. This guide not only explains the basic steps for replacing a lock but also demonstrates how to upgrade to a WELOCK Smart Lock for enhanced security and convenience.
If any issues arise, consider readjusting the lock cylinder or contacting WELOCK support for assistance.


 Smart Lock Touch61
 Smart Lock Touch41
 Smart Lock SECBN51
 Smart Lock Touch45

 Smart Lock PCB41

 Smart Lock PCB43
 Smart Lock Konb 32
 Smart Lock PCB33
 Smart Lock Deadbolt PCB34

 Door Sensor
 RFID card


Laissez un commentaire